root
Moderator
Mail Exchange 2016
- Mục lục:
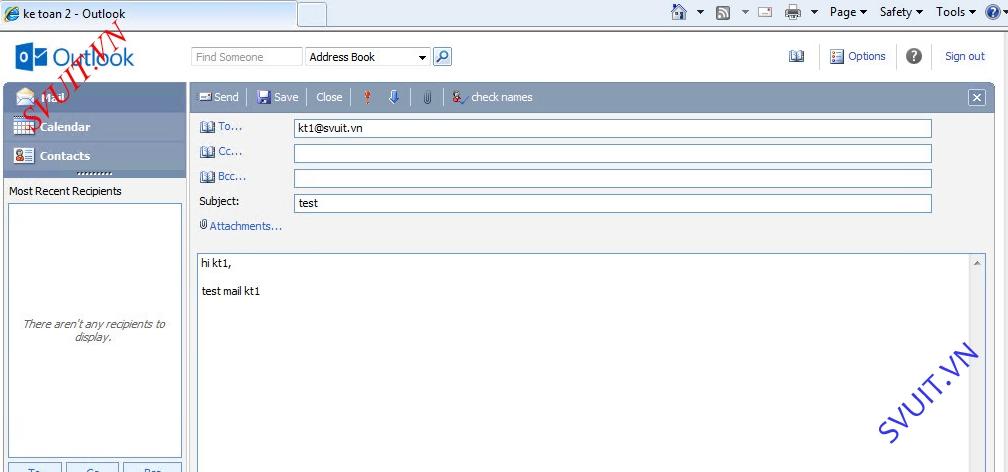
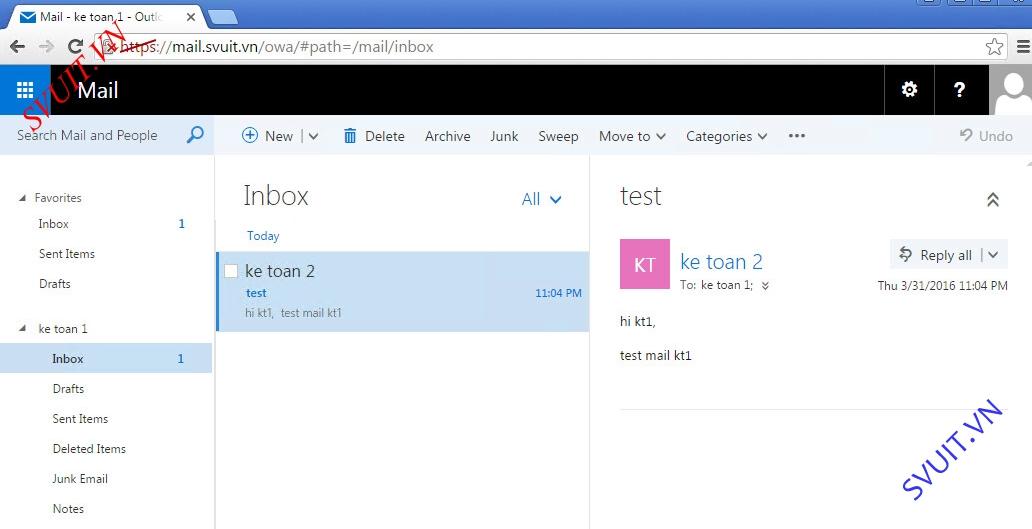
Ở phần trước chúng ta đã xây dựng thành công Active Directory và các dịch vụ khác trên windows server 2012R2. Phần này chúng ta sẽ xây dựng hệ thống mail server để các nhân viên trong cty có thể gửi và nhận mail.
Bài lab này sẽ mô tả các bước cài đặt Micosoft Exchange Server 2016. Đây là mô hình bài lab chúng ta sẽ triển khai.

[TABLE="class: grid, width: 800"]
[TR]
[TD="bgcolor: #002060, colspan: 2"]Domain Controller[/TD]
[/TR]
[TR]
[TD]Operating System[/TD]
[TD]Windows Server 2012 R2[/TD]
[/TR]
[TR]
[TD]Forest Functional Level[/TD]
[TD]Windows Server 2012 R2[/TD]
[/TR]
[TR]
[TD]Domain Functional Level[/TD]
[TD]Windows Server 2012 R2[/TD]
[/TR]
[TR]
[TD="bgcolor: #002060, colspan: 2"]Exchange Server 2016[/TD]
[/TR]
[TR]
[TD]Operating System[/TD]
[TD]Windows Server 2012 R2[/TD]
[/TR]
[TR]
[TD]Installed Role[/TD]
[TD]Mailbox Role[/TD]
[/TR]
[/TABLE]
- Hệ điều hành hỗ trợ Mail Exchange 2016
[TABLE="class: grid, width: 800"]
[TR]
[TD="bgcolor: #002060"]Component[/TD]
[TD="bgcolor: #002060"]Operating System[/TD]
[/TR]
[TR]
[TD]Mailbox and Edge Server Role[/TD]
[TD]Windows Server 2012 R2 Standard or Datacenter[/TD]
[/TR]
[TR]
[TD]Windows Server 2012 Standard or Datacenter[/TD]
[/TR]
[TR]
[TD]Windows Server vNext[/TD]
[/TR]
[TR]
[TD]Management Tools[/TD]
[TD]Windows Server 2012 R2 Standard or Datacenter[/TD]
[/TR]
[TR]
[TD]Windows Server 2012 Standard or Datacenter[/TD]
[/TR]
[TR]
[TD]64-bit edition of Windows 8.1[/TD]
[/TR]
[/TABLE]
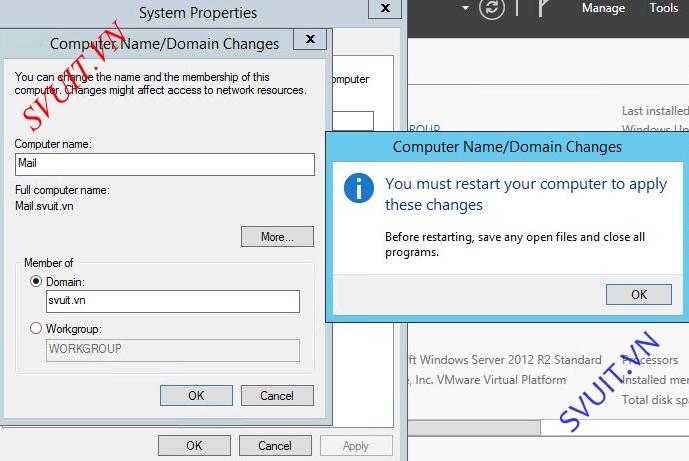
1 Chuẩn bị Active Directory để cài đặt Exchange 2016
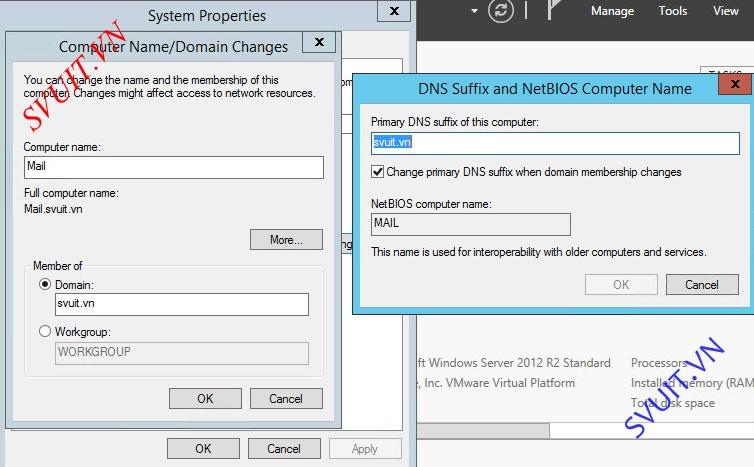
- Để cài đặt bất kì version Exchange Server anof chúng ta đều phải chuẩn bị trên môi trường Active Directory để đặt Exchange Server.
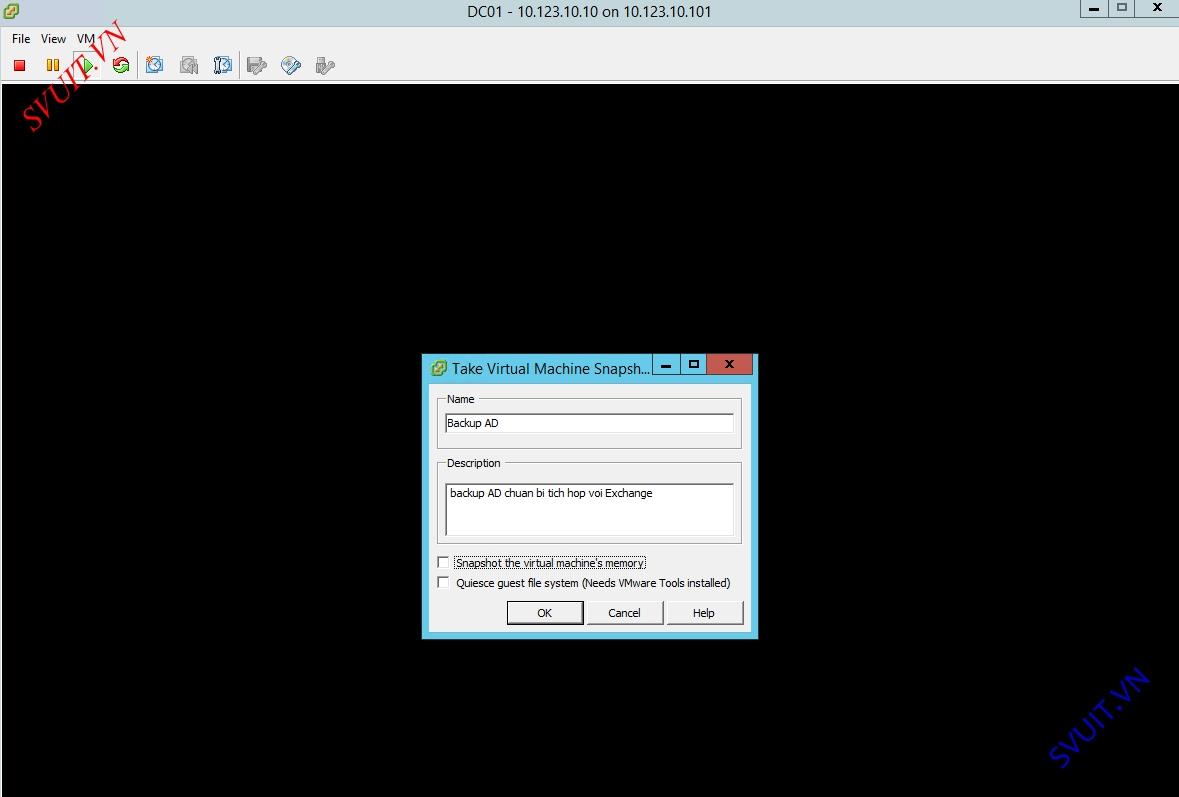
- Trước khi cấu hình thay đổi trên Active Directory chúng ta nên Backup Active Directory trước. Mình sẽ snapshot server Active Directory.

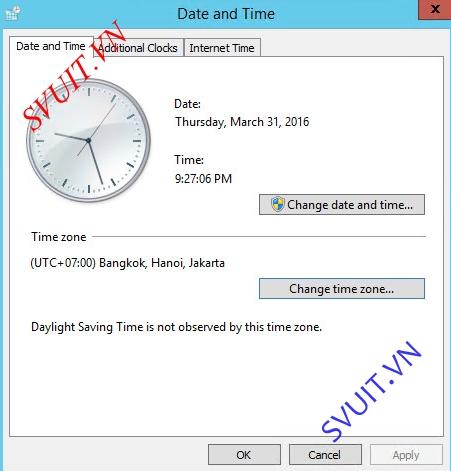
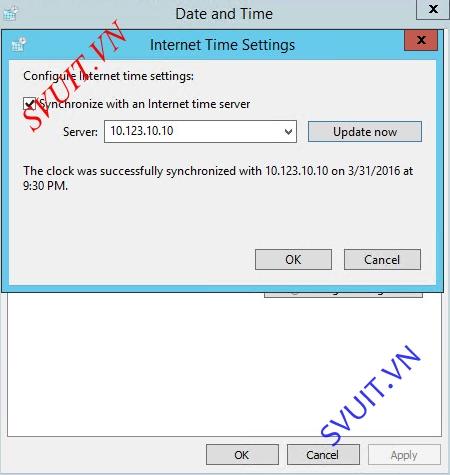
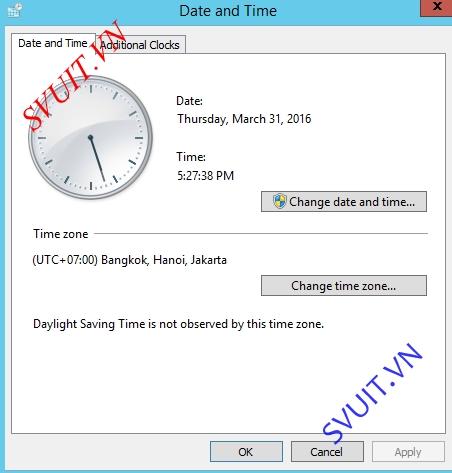
- Kiểm tra timezone và NTP trên Active Directory đảm bảo thời gian trên server Active Directory chạy chính xác.
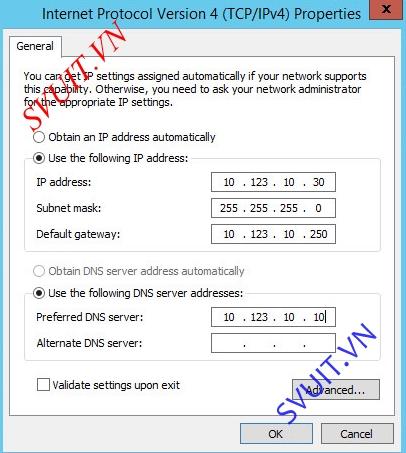
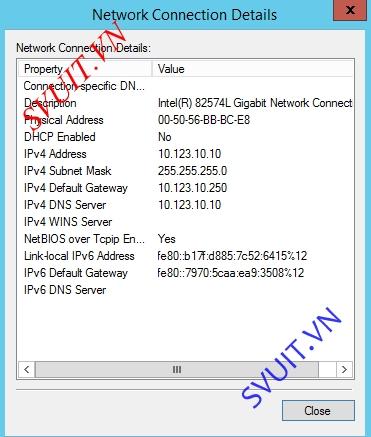
- Kiểm tra IP và DNS trên Active Directory
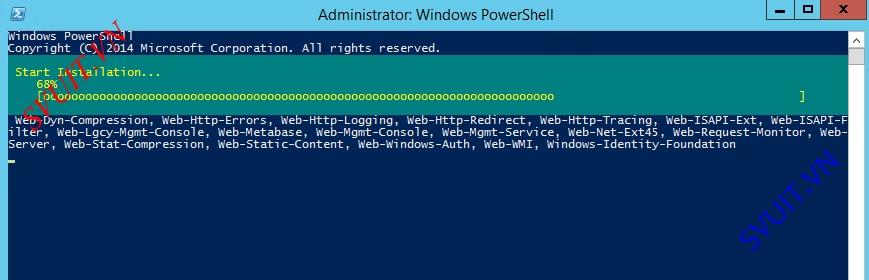
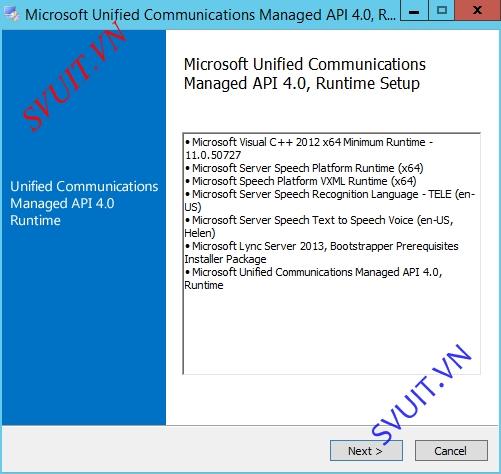
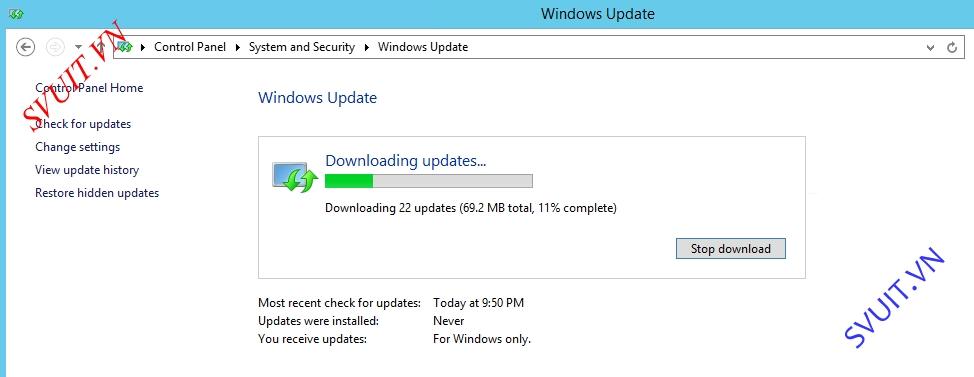
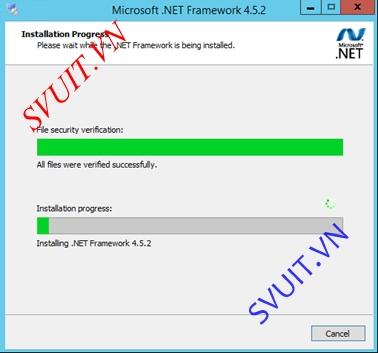
- Download và cài đặt Microsoft .Net Framework 4.5.
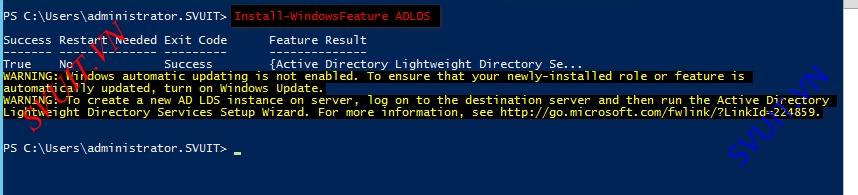
- Mở Windows PowerShell để cài đặt “Remote Tools Administration Pack”.
Install-WindowsFeature RSAT-ADDS

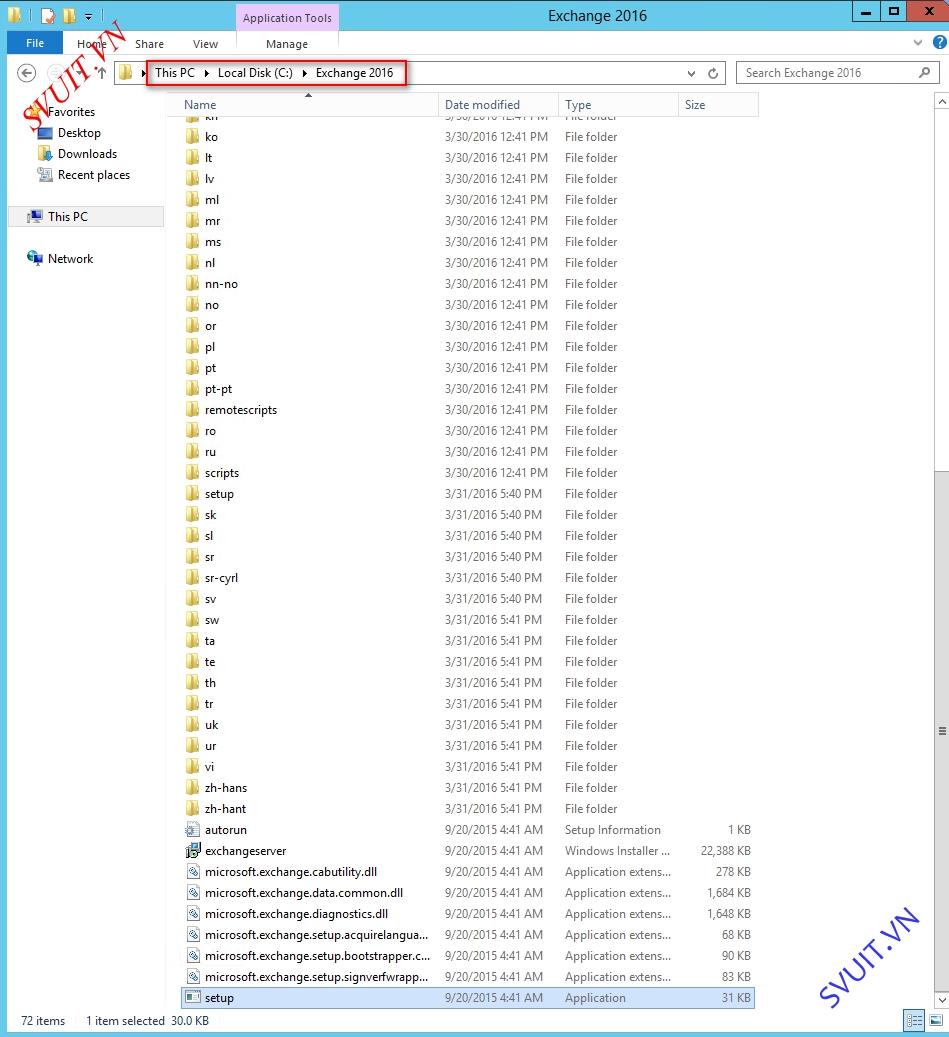
- Copy source cài đặt Mail Exchange 2016 lên Active Directory để cài đặt.
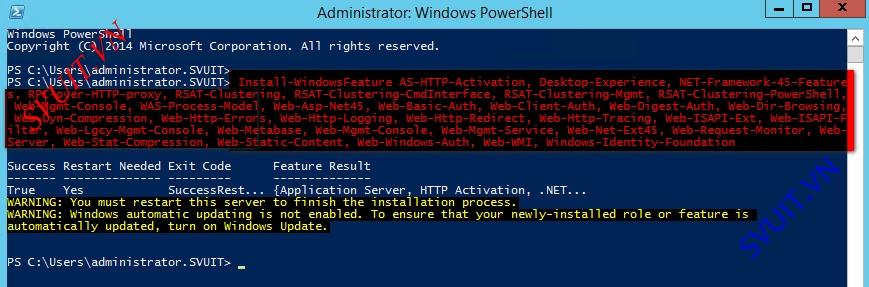
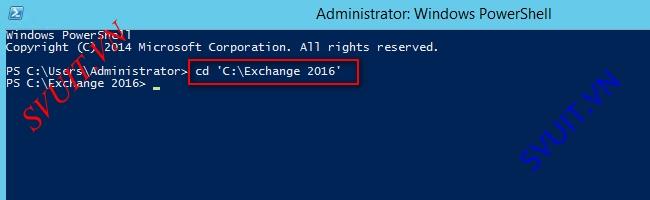
- Sử dụng Windows PowerShell và truy cập vào thư mục cài đặt Exchange để cài đặt một số yêu cầu khi cài Exchange.
- Chạy các lệnh sau để sử dụng Schema Admins group và Enterprise Admins group.
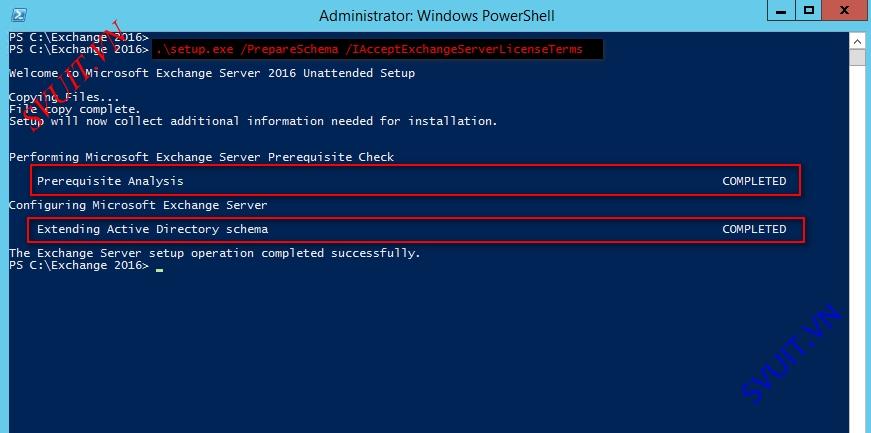
- Extend Active Directory Schema:
Setup.exe /PrepareSchema /IAcceptExchangeServerLicenseTerms
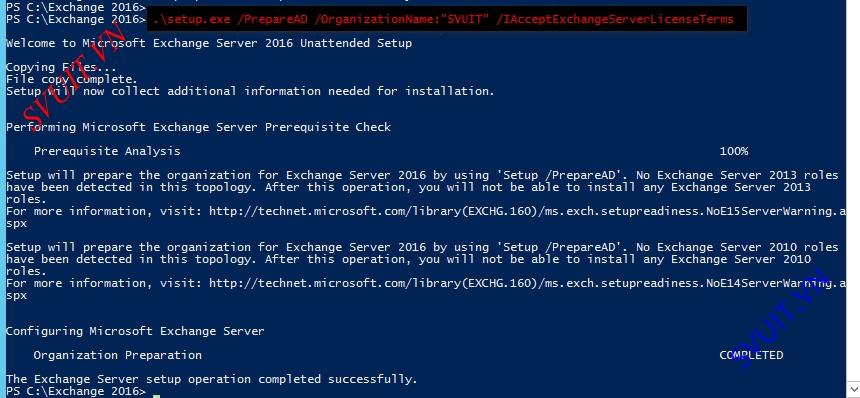
- Prepare Active Directory
Setup.exe /PrepareAD /OrganizationName:”<organization name>” /IAcceptExchangeServerLicenseTerms
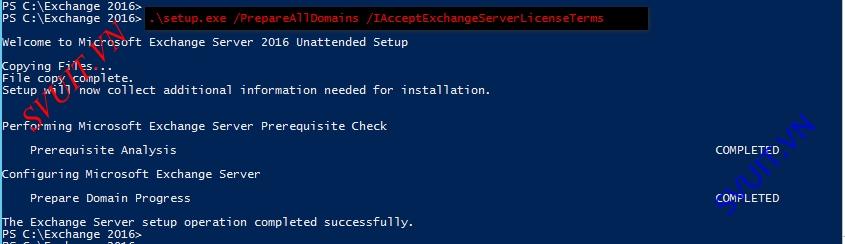
- Prepare Domains
Setup.exe /PrepareAllDomains /IAcceptExchangeServerLicenseTerms
- Mục lục:
- Phần 1: Cài đặt DNS và Active Directory 2012 R2 - Download tài liệu: DOWNLOAD
- Phần 2:
- Phần 3: Triển khai FTP server trên windows server 2012R2 - Download tài liệu: DOWNLOAD
- Phần 4: Phân quyền cây tài nguyên - Download tài liệu: DOWNLOAD
- Phần 5: Driver Mapping - Download tài liệu: DOWNLOAD
- Phần 6: File Server Resource Management - Download tài liệu: DOWNLOAD
- Phần 7: Cài đặt Mail Exchange 2016 - Download tài liệu: DOWNLOAD
Ở phần trước chúng ta đã xây dựng thành công Active Directory và các dịch vụ khác trên windows server 2012R2. Phần này chúng ta sẽ xây dựng hệ thống mail server để các nhân viên trong cty có thể gửi và nhận mail.
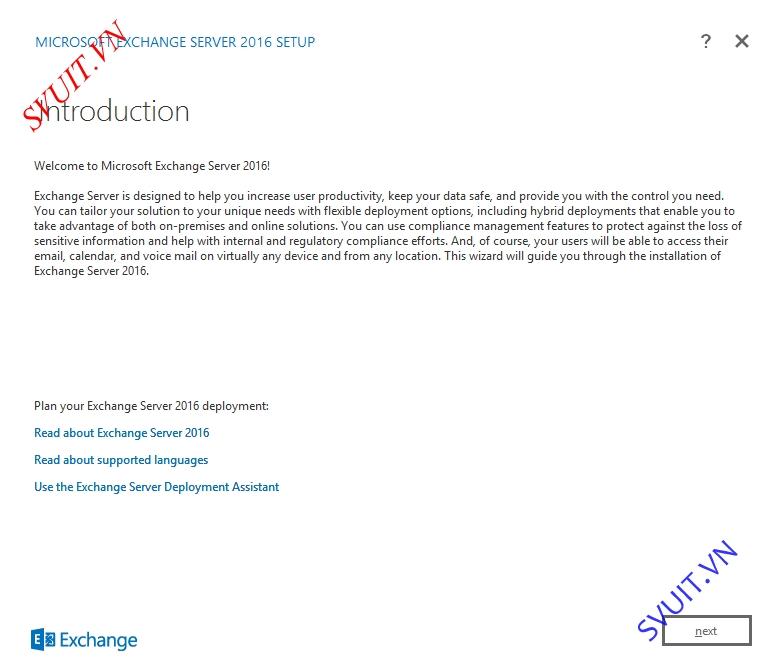
Bài lab này sẽ mô tả các bước cài đặt Micosoft Exchange Server 2016. Đây là mô hình bài lab chúng ta sẽ triển khai.
[TABLE="class: grid, width: 800"]
[TR]
[TD="bgcolor: #002060, colspan: 2"]Domain Controller[/TD]
[/TR]
[TR]
[TD]Operating System[/TD]
[TD]Windows Server 2012 R2[/TD]
[/TR]
[TR]
[TD]Forest Functional Level[/TD]
[TD]Windows Server 2012 R2[/TD]
[/TR]
[TR]
[TD]Domain Functional Level[/TD]
[TD]Windows Server 2012 R2[/TD]
[/TR]
[TR]
[TD="bgcolor: #002060, colspan: 2"]Exchange Server 2016[/TD]
[/TR]
[TR]
[TD]Operating System[/TD]
[TD]Windows Server 2012 R2[/TD]
[/TR]
[TR]
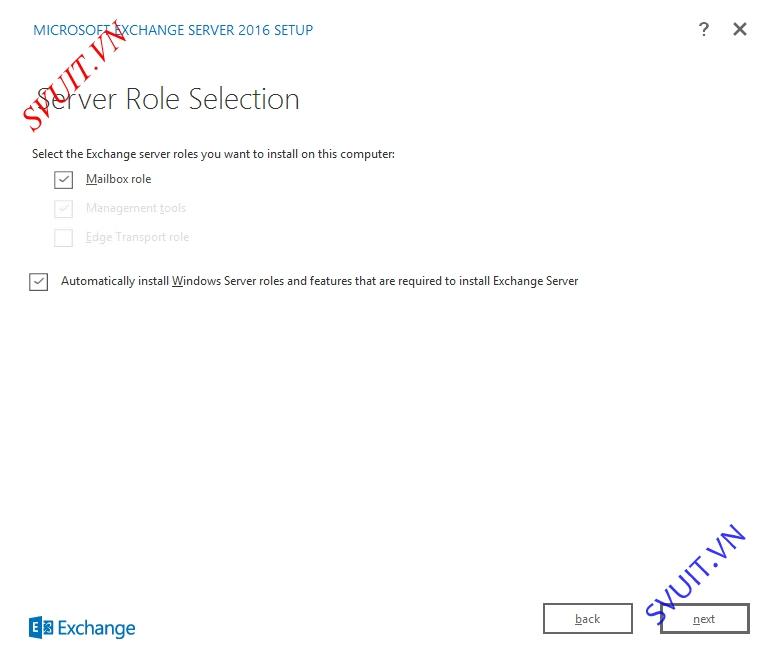
[TD]Installed Role[/TD]
[TD]Mailbox Role[/TD]
[/TR]
[/TABLE]
- Hệ điều hành hỗ trợ Mail Exchange 2016
[TABLE="class: grid, width: 800"]
[TR]
[TD="bgcolor: #002060"]Component[/TD]
[TD="bgcolor: #002060"]Operating System[/TD]
[/TR]
[TR]
[TD]Mailbox and Edge Server Role[/TD]
[TD]Windows Server 2012 R2 Standard or Datacenter[/TD]
[/TR]
[TR]
[TD]Windows Server 2012 Standard or Datacenter[/TD]
[/TR]
[TR]
[TD]Windows Server vNext[/TD]
[/TR]
[TR]
[TD]Management Tools[/TD]
[TD]Windows Server 2012 R2 Standard or Datacenter[/TD]
[/TR]
[TR]
[TD]Windows Server 2012 Standard or Datacenter[/TD]
[/TR]
[TR]
[TD]64-bit edition of Windows 8.1[/TD]
[/TR]
[/TABLE]
1 Chuẩn bị Active Directory để cài đặt Exchange 2016
- Để cài đặt bất kì version Exchange Server anof chúng ta đều phải chuẩn bị trên môi trường Active Directory để đặt Exchange Server.
- Trước khi cấu hình thay đổi trên Active Directory chúng ta nên Backup Active Directory trước. Mình sẽ snapshot server Active Directory.
- Kiểm tra timezone và NTP trên Active Directory đảm bảo thời gian trên server Active Directory chạy chính xác.
- Kiểm tra IP và DNS trên Active Directory
- Download và cài đặt Microsoft .Net Framework 4.5.
- Mở Windows PowerShell để cài đặt “Remote Tools Administration Pack”.
Install-WindowsFeature RSAT-ADDS
- Copy source cài đặt Mail Exchange 2016 lên Active Directory để cài đặt.
- Sử dụng Windows PowerShell và truy cập vào thư mục cài đặt Exchange để cài đặt một số yêu cầu khi cài Exchange.
- Chạy các lệnh sau để sử dụng Schema Admins group và Enterprise Admins group.
- Extend Active Directory Schema:
Setup.exe /PrepareSchema /IAcceptExchangeServerLicenseTerms
- Prepare Active Directory
Setup.exe /PrepareAD /OrganizationName:”<organization name>” /IAcceptExchangeServerLicenseTerms
- Prepare Domains
Setup.exe /PrepareAllDomains /IAcceptExchangeServerLicenseTerms
Bài viết liên quan
Bài viết mới